How to panel a wall - 2021 Trends
How to panel a wall - 2021 Trends
Wall panelling has become the ultimate DIY trend of 2021, with Tik Tok influencers going mad for it, its hardly a surprise that it has become one of this year's hottest trends. Although influencers on social channels have given you an idea on how to panel a wall, a step by step guide like our one below should make it easier.
Wall panelling brings a touch of character to a home where it may be lacking, so its hardly surprising that so many of you want to panel your walls at home, as it gives it a unique finish. This short guide should hopefully give you all you need to know, on how to create a stunning wall panelling technique at home, without breaking the bank!
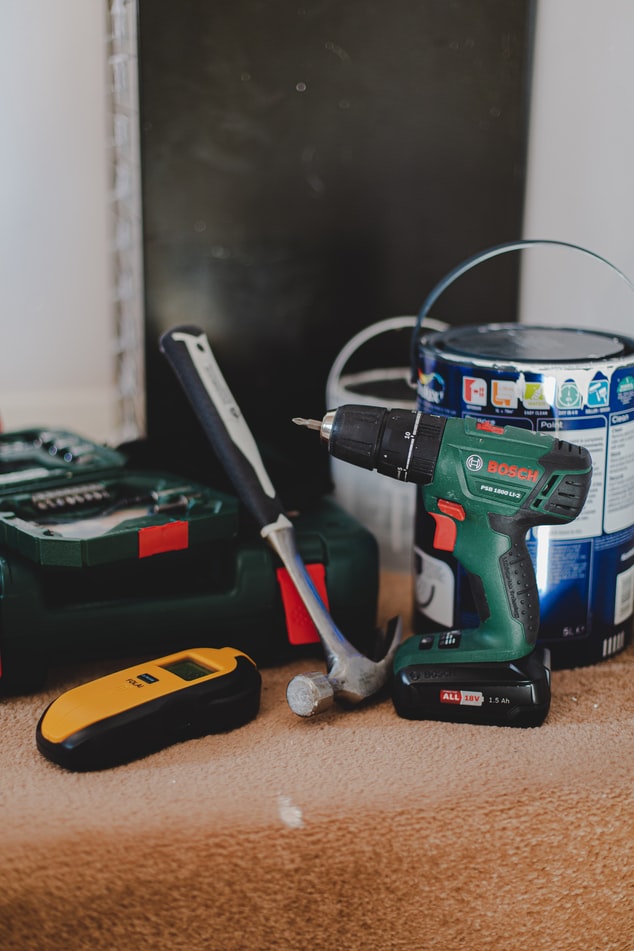
What you need to panel your walls:
- MDF sheets
- Tape measure
- A pencil
- Sander
- Spirit level
- Filler
- Sandpaper
- Hammer
- Paint
Have you got everything? Right let’s go through step by step, what it is you need to do to have your hallway, living space or bedroom looking unique with a stylish wall panelling feature!
Step 1
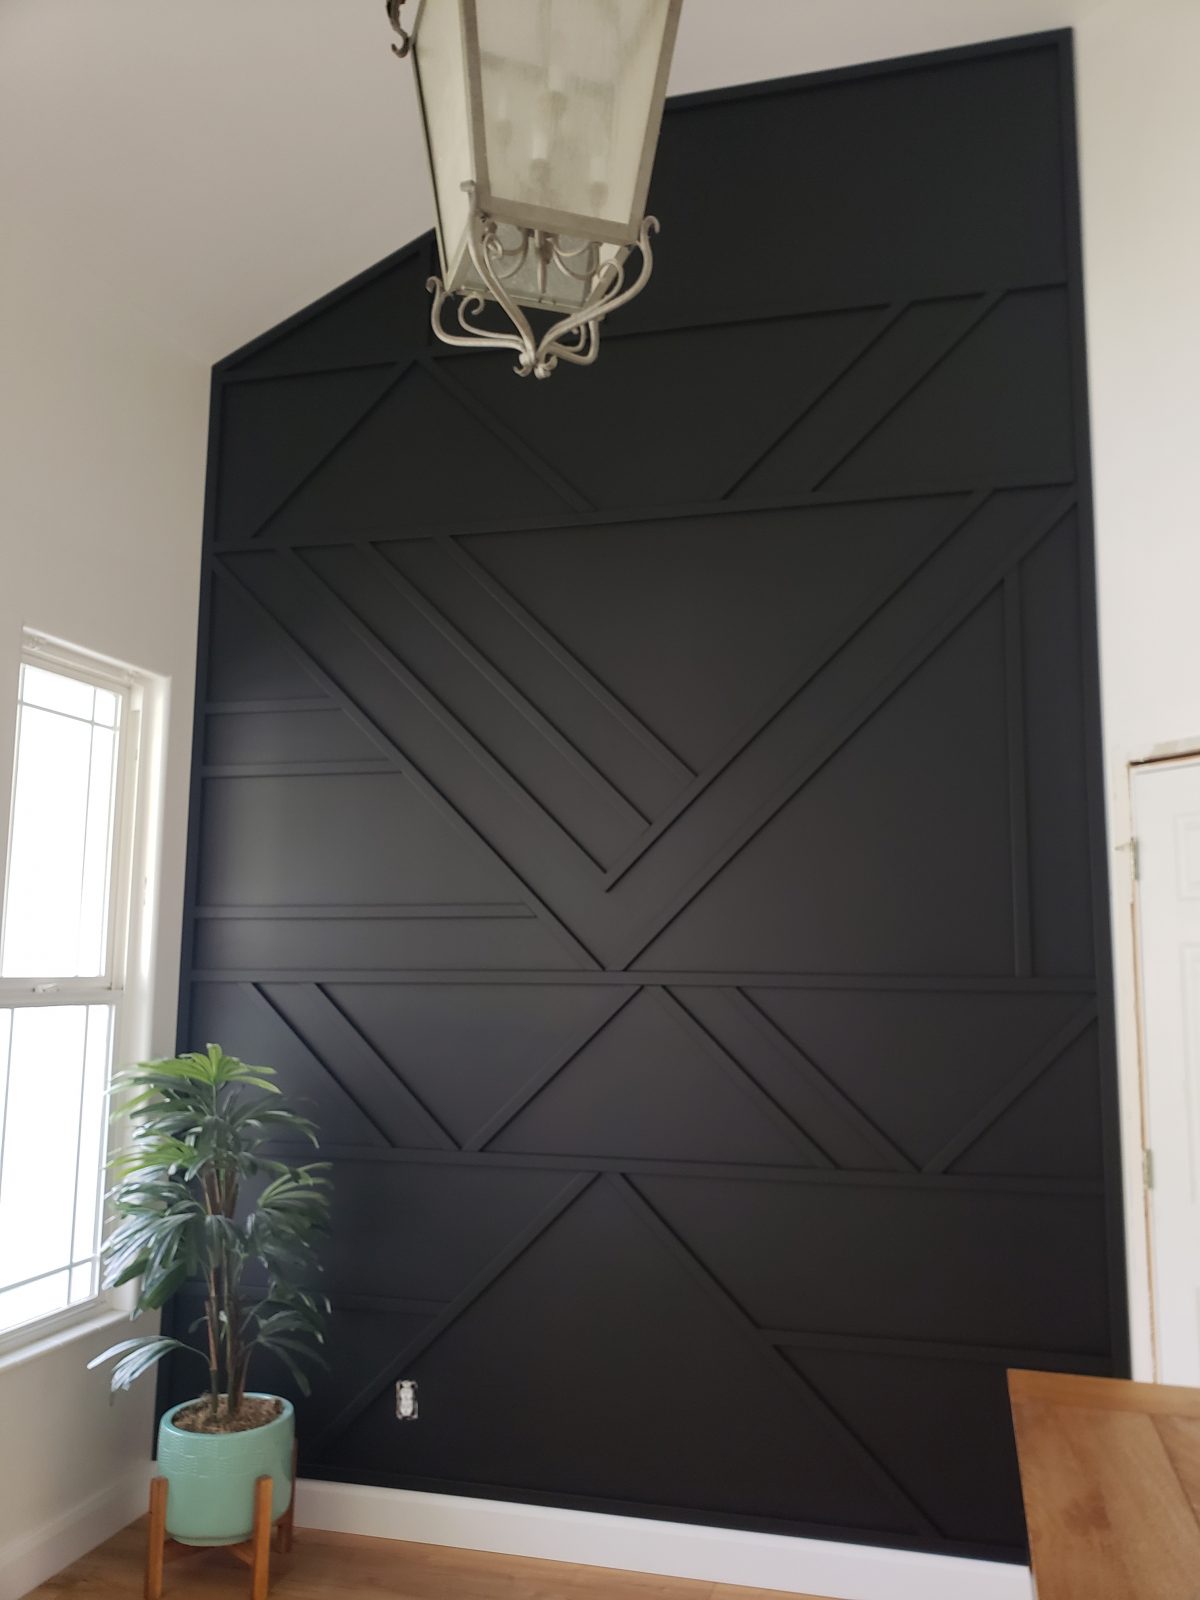
When DIY’ing it at home, it's important you measure everything correctly. Drawing things out can help you get a much better perspective on what kind of style you want your wall panel to have. It can be anything from a simplistic style to a whacky geometric space (like the one below), but drawing it out is key, so you don’t begin to change your mind halfway through your wall panelling project.
Step 2
As much as we said drawing your design out is important, its also key to measure your space. Getting your measurements right means you don’t have to go back and change anything once you’ve started. Follow this set of instructions to get your measurements spot on:
Measure both the length and width of the wall that you’re panelling.
Write down the measurements next to your drawings.
With your design in hand, decide on how many panels you require.
The design is totally up to you but at this stage, you need to assess what width you want your stiles (the wood used to create the panelled look) to be, then write those measurements down too.
This allows you to cut the perfect length of the rail.
Step 3
Before you head off to your local hardware store, follow these steps to ensure you don’t buy too much or too little of the things you need.
For the horizontal rails multiply the width from the previous step, by the number of columns you require, look back at your sketches or some inspo pictures to get an idea for how many are required.
Once you have the number, subtract it from the width of your wall.
Then, divide that figure by how many panels you require.
You’ll then have the perfect amount to create your horizontal stiles.
Next is sorting the vertical stiles, so just combine the depth of your base rail with the depth of the top rail.
Then with the total number subtract this from the wall height.
You’ll then have the exact amount of length required to build your vertical stiles, now it's onto the next step.
Step 4
Fix any problems that your wall may have, this could be anything from damp to issues with your plaster, as you can create a whole load of problems if you attach your panelling before sorting out your wall. You should also sand your wall before adding the panels as this ensures the adhesive will work better.
Step 5
This is the fun part, as its now time to begin sticking your panels to the wall. You must start with your bottom rail, add the glue to the back of the rail and then press down firmly all the way along ensuring it sticks properly. Use your spirit level to ensure the panels are all attached straight. Once the panel is attached, leave it to dry.
Step 6
You can then repeat the process with all of your top rails, leaving them to dry every time you stick them to the wall. The pre-cut stiles can then be slotted in between the top and bottom allowing them to fit neatly.
Step 7
As you repeat the process you need to use the marks that you made on the wall to ensure each one is perfectly spaced out, then fix each one of your stiles until you have the perfect number of columns.
Step 8
When each of your stiles is in place, you then need to add your horizontal ones in between, use an adhesive to do this, or you can pin them if required.
Step 8
If you think that your panels have gaps in between, now is the time to fill them in, using a caulk, which can be neatly added to a gap and should then be left to dry.
Step 9
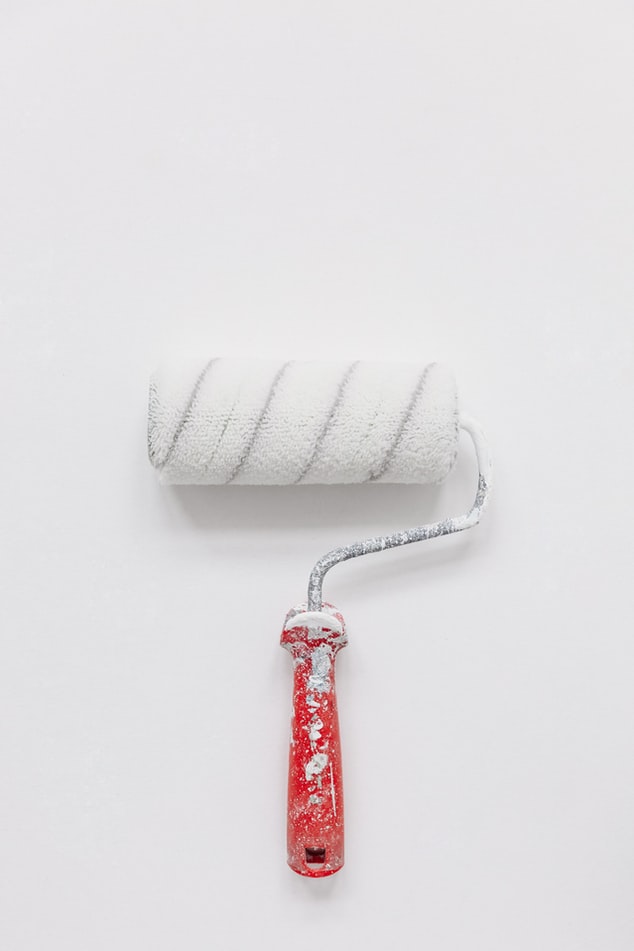
Once you’re happy with the way your panelling looks you can begin to paint. Pick a colour from the thousands available, to create a look that you’re proud of. We recommend that you use a roller like the one below to ensure an even finish.
Step 10
Admire your work! It requires a lot of patience to add a wall panel, now you’ve done that you should appreciate the effort you’ve put it in.

